Taken from an edited excerpt of Rae Morris’ book, Express Makeup with permission. Photography by Steven Chee.
I highlight skin in one of the two following ways:
One method is to mix a liquid highlighter (normally called luminiser) with foundation and apply it all over your face, which is fabulous for young and blemish-free skin.
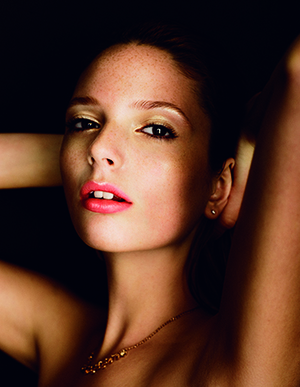
The other is to highlight only certain features. This gives your skin a hint of glow while avoiding problem areas. There isn’t a woman on this planet who doesn’t want glowing, luminous, youthful skin. It’s time to update your look.
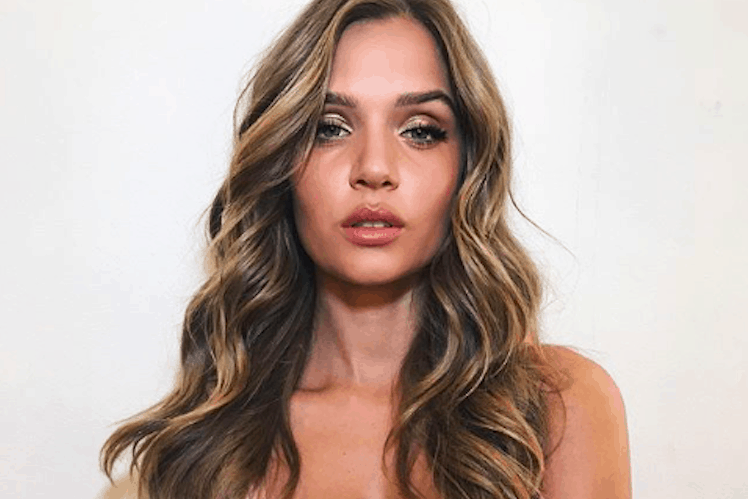
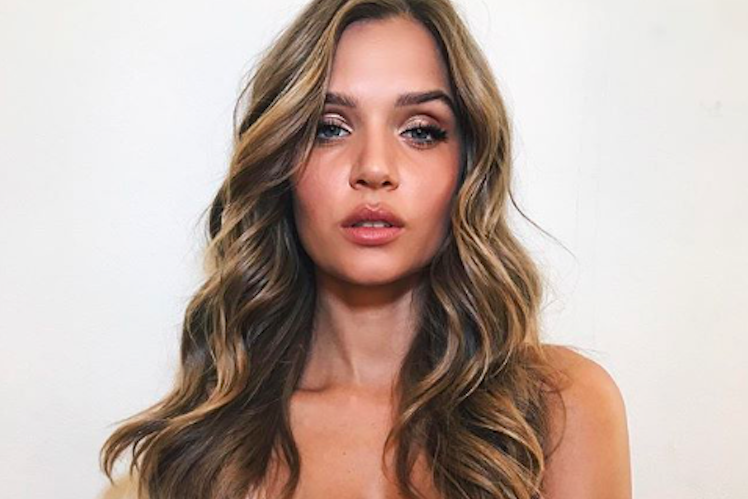
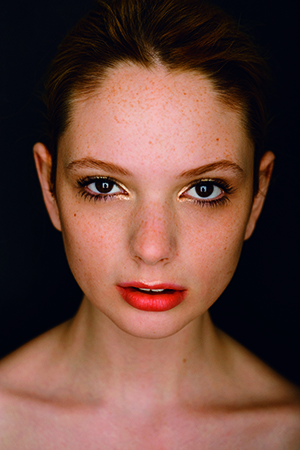
The best tip for choosing the right highlighter colour is to first apply the product to the cupid’s bow on your top lip. You should see a natural shine, as if your natural skin tone is glowing, not colour. If it’s too yellow, you’ve chosen a colour that’s too dark for your skin tone. If it looks white and frosty, you’ve chosen a colour that’s too light.
For example, for paler skin tones, use really sheer ‘eggshell’ soft gold pigments or creams. For medium skin tones, use soft golds and rose golds, not bronzers. For dark skins, use deep golds and bronzes. And for very dark skin, use burgundies and dark, shimmery chocolate.
Never use white or silver greys to highlight your skin. Only use these colours highlighting the inner corners of your eye. When highlighting your cupid’s bow, make sure this area is hair-free.
Avoid highlighters that reflect purple tones and check the product on the back of your hand to make sure there are no purple/pink reflections. These tones are hard to see but are very common in powdery mineral foundations.

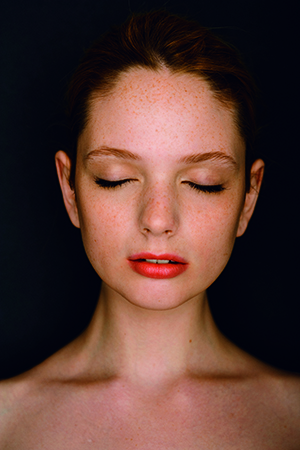
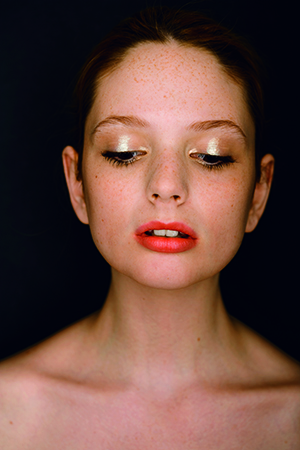
Never highlight something you don’t want people to look at. If your brow is slightly hooded, or if you have a prominent brow bone, don’t draw attention to this area by highlighting it.
Don’t use cream highlighter on your eyelids – creams crease and eyelids move, so they’re not a good combination. But creams are fabulous everywhere else. Never use a frosty white eyeshadow, and never ever highlight your whole brow bone, or it’ll be ‘Hello, soggy eyes!’
For youthful, wrinkle free skin, you can luminise all over. Just add a few drops of luminising liquid to your base. If you’re even slightly worried about fine lines and blemishes, then steer clear of the chin and the areas around the eyes.
Also remember, don’t use any of these highlighters on areas where your skin is extremely oily, blemished or lined. I believe everybody should highlight the inner corners of their eyes, which rarely wrinkle as we age. It’s a great way to bring life and light into your eyes, and also to awaken tired eyes. However, it’s essential to choose a highlighter that matches your skin tone.

1. Eyelids: to avoid fallout, wet an angle brush. Apply highlighter to the inner corners of your eyes, then look down and apply it to the centre of your eyelids.
2. Cupid’s Bow: using the same wet brush, highlight your top lip, the cupid’s bow. You can see how this instantly makes your lips look fuller without having to obviously overdraw your lip line.
3. Nose: highlight down the centre of your nose, but be careful not to go to the very tip. (If you’re over-oily in this area, don’t highlight your nose at all.)
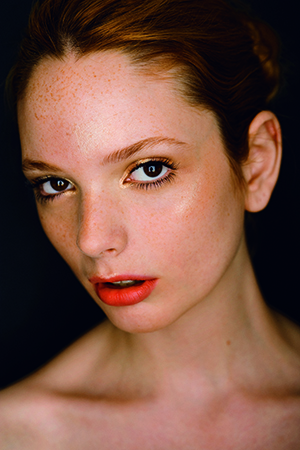
4. Forehead: with a kabuki brush, apply highlighter to the centre of your forehead. This gives the very youthful illusion of a rounded head, and is great for normal to dry skin; again, avoid this if it is oily.
5. Cheek & Brows: using your fingertips or a fan brush, apply a hint of highlighter to your cheekbone. You should only be able to see this highlight when you turn side on. If you can see it from front on, you’ve used too much. Avoid this area if you’re heavily lined. Wetting a fine angle brush, highlight very closely along the last third of your eyebrow. Keep this section very thin so you don’t create a puffy eyelid. Highlighting the whole brow bone creates an ageing effect.
Taken from an edited excerpt of Rae Morris’ book, Express Makeup with permission. Photography by Steven Chee.


Ally
I like the idea of adding liquid highlighter with a foundation. Do you have any suggestions of a luminiser? The one I typically use is more of a compact powder
Alyssa-Jane
I didn’t know that you needed to pick a highlighter that matches your skin – love that tip!