fbpx

As one of the most distinctive features on your face, a good brow is the foundation to creating any makeup look. Brows have been one of the biggest trends in recent years, with looks ranging from bushy, to natural, to razor sharp edges. Despite so much buzz, an air of confusion still hangs over the question, "How do I care for my caterpillars?" We asked three industry experts for their best advice on taming, growing, and grooming your best brow.

IMAGE BY  HANNAH KHYMYCH

Things You Should Know…

Brow Tattooing– Also known as ‘micropigmentation’, colour pigments are implanted into the dermis to fill in sparse or thinning brows. Colour will eventually fade or metabolise over time, and some skin retains ink better than others. Brow tattooing is done with a machine.

Micro blading– Still a form of brow tattooing, pigment is implanted under the skin using a super fine blade, creating hair like strokes that mimic your natural growth pattern. Micro blading is done with a very fine blade.

Brow Henna– Great for sensitive skin and similar to brow tinting, a dye is applied to the skin and brows to fill in any gaps. Can hold colour for up to 4 weeks. 

Brow Tinting– A semi-permanent dye is brushed onto brows and left for up to 10 minutes before being cleaned away. Typically lasts between 2-4 weeks and can emphasise the smaller “baby hairs” around the brow.

1. The Experts Know Best…

One of the main takeaways from the experts is to seek help from a professional for any major brow concerns (i.e. sparse hairs, lacking thickness, colour, shaping). Kristin Fisher, the owner of Kristin Fisher Eyebrows, recommends going to see a brow artist frequently, as they “can assess your brows and hair type to work out a plan”. Every face will require a different brow shape and maintenance level, so consider your bi-monthly (or more) brow appointment to be a necessary expense, and treat yourself to some professional help.

2. Go Au Natural…

There is an art to the perfectly groomed Instagram brow. However, our experts all agree that the best brow shape for the average woman is the one you were born with. Leaving your brows au natural and only tweezing the strays (fingers width away from the actual brow or on the lid) can be advantageous to growing thicker, sculpted brows. Still recovering from the pencil-thin, early 2000’s trend? Hannah Mutze, the National brow artist for Benefit Cosmetics, tells us “Put the tweezers down! – Growing out brows takes time. But thick brows are well worth the wait!”. Speaking of growing pains…

4. Create An Arsenal of Products…

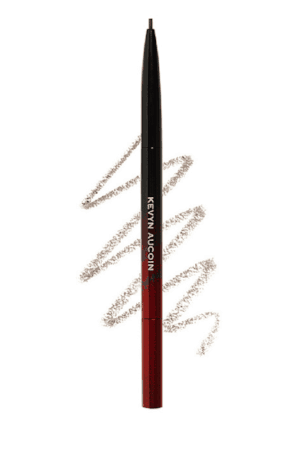
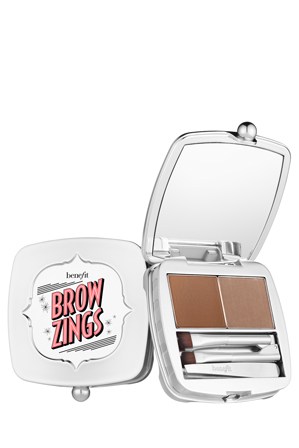
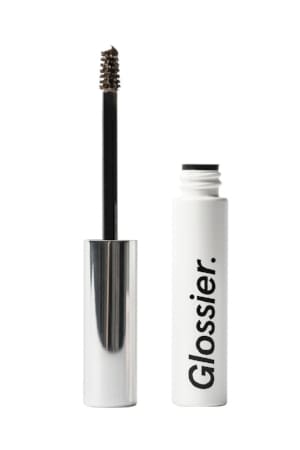
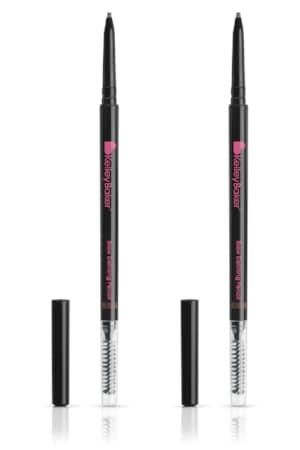
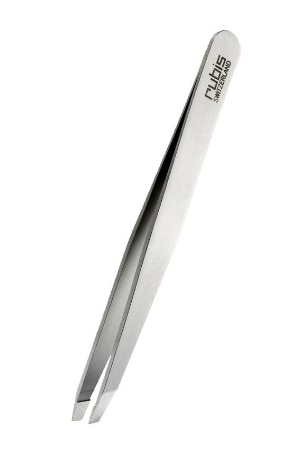
While Kristin has a secret growth serum she’s currently formulating (stay tuned, folks. This is going to be a good one), Hannah recommends investing in a conditioning brow serum like Benefit’s BrowVo!. Test different products to see what works for you, then use religiously to see noticeable improvements.  For their personal kit: Kristina’s favourite brow products include Benefit’s Brow ZingGlossier Boy Brow (check out our tips for getting around international shipping), and Kelly Baker Brow Defining Pencil. While Amy loves Precision Tweezers by Rubis, Amy Jean Micro Stroke Pencil or Kevyn Aucoin Precision Brow Pencil, and a fluffy powder like Amy Jean Brow Veil.

3. Grow It Out…

Reach your brow’s fullest potential by following these tips:

-Hannah recommends, “try a brow conditioner. Benefit’s BrowVo!Contains keratin and soy proteins to condition existing hairs and the tip stimulates the skin, encouraging new growth!”

-Consider the idea of brow tattooing. Kristin suggests doing “a form of brow tattooing if you’re after a fuller brow, or a 3 weekly appointment for henna tinting if you’re not ready to take the plunge with semi-permanent brows any time soon. She also mentions “Don’t try to wax your own brows at home- this will almost always end in disaster!”

Amy Jean, the owner of Amy Jean Brow Agency, says the key to thick and dreamy brows is “hands off and perseverance. It’s not a bad idea to see a trained brow specialist to tint/stain the skin across the patchy area of regrowth during the ‘growing out’ phase or perhaps use a pencil or powder across the regrowth so you aren’t tempted to tweeze it away again.”

5. Find Your Shape…

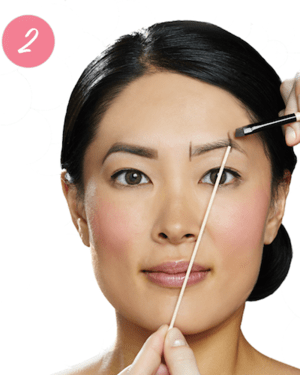
Not sure where to start when determining your brow shape? Hannah says: “There are three points we look for in every brow we shape; the start, arch and end of the brow. These three points when in the right place, ensure the most flattering brow shape for your face and can affect how wide or narrow your nose looks, how open or closed your eyes look and how youthful your face looks. Use your brow pencil to mark these three points:

1. Measure vertically UP from the edge of your nostril (NOT the side of your nose; this is where your brow should start.

2. Measure diagonally from the edge of your nostril through the centre of your pupil; this locates your arch (highest point of the brow).

3. From the edge of your nose, measure diagonally aligning with the corner of your eye; this locates where your brow should end.”

PHOTOS FROM BENEFIT COSMETICS

When considering the thickness of your brow, Amy recommends that you should, “understand your face shape and what brow style best suits you. For instance a long face suits a straighter elongated brow style to widen and balance the face. A rounder face shape suits a higher arch to create more lift in the eye area and narrow the face”. She also warns that bigger is not always better, saying “some people actually suit petite brows and therefore shouldn’t go drawing heavier brows that overpower their face”.

6. Embrace The Trends…

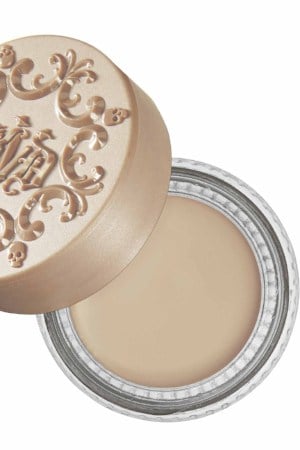
2018 has shown us that it doesn’t matter what shape your brows are, it only matters that you’re choosing the right shape for your face and maintaining the look with clean edges and combed up hairs. To achieve this look Hannah suggests to layer brow products, and use “a fine-tipped pencil for hair like strokes paired with a clear brow gel = instant feathered brow.” In saying that, don’t feel like you have to only follow what is most popular. The artistry team at Kat Von D told us to live a little, and abide by the idea of “no rules artistry”. Freshen up your look by trying a bleached or coloured brow. Use Kat Von D 24-Hour Super Brow Long-Wear Pomeade in Bleach. The thick pomade coats each brow strand, and gives the brow a lightened effect.

7. Try A Tint…

Not ready to make the commitment to a semi-permanent brow tattoo? See a professional for a brow henna or tint. With tinting, “In 10 minutes, the brow looks thicker and more defined. Gone are the days of the one colour suits all too dark brows today, the colour is customised to suit every individual from blonde to black!”, Hannah reassures.

8. At Home Touch-Up Tips…

Let’s say this together, “I will not do anything drastic at home”. Now that we’ve gotten the potential mishaps out of the way, we can chat about maintenance. The best thing you can do between brow appointments is maintain the shape that your brow expert created, and remove at the most only a few stray hairs. Simple as that.

AMY JEAN PRIVÉE COLLECTION- MICRO STROKE PENCIL- $38

9. Colour Is Everything…

According to Hannah, “The two things to consider when selecting brow colour are shade and tone…

Tone, refers to the undertone of your brow colour which can be cool or warm. Cooler tones will appear more taupe or ashy and warm tones more red or golden. Ask a professional when in doubt. Shade, refers to how light or dark you like your brows to be. It’s ok to experiment here, but try to not stray more than 2-3 shades either shade of your natural brow colour for the best finish.” Another tip is ensure you match your brow product to your eyebrow colour, not your hair colour.

10. Keep It Real…

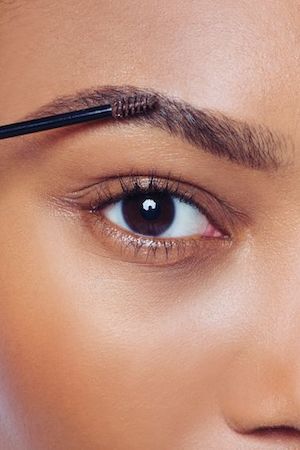
If you’re going for the natural brow look, invest in good products to fill them in. “Thicker brows mean business; they need a product to show them who is boss. Waxes and gels are best for thick brows as they offer some holding power! Benefit’s 24hr Brow Setter is the best in the biz – it’s like a strong hold hair spray for your brows!”, Hannah says, “Thinner brows often need a little more love. Start by thickening up that shape with a water-resistant brow pencil (you want these babies to last the day!) and finish by backcombing, then taming a fibrous brow gel through the brows”. Perfectly symmetrical brows will never look completely natural, so remember, brows are sisters, not twins.

PHOTO FROM EONLINE

Story by Molly Gay. Quotes from Kristin FisherHannah Mutze, and Amy Jean.

Comment (0)