fbpx

Gel nails are all the rage but heading for your regular salon appointments does not always fit into a busy schedule (or comply with quarantine restrictions) - and can be a hefty burden on your wallet. There's currently a raft of at home gel nail devices, promising a salon look all from the comfort of your own home - they're particularly popular overseas and are just starting to hit Australian shores. But should you buy one? Read on for our hacks to perfecting at home gel nails all by yourself and the top kits you might want to add to cart ASAP...

Why you should try DIY gel nails using an at home gel nail kit

It’s durable: Gel nails last double the time normal polishes do.

Cost effective: Gel manicures at a salon can cost anywhere between $30 and $80 each time you go. An at home gel nail kit falls within the same price range as one trip to the salon.

It’s seriously easy: The whole process takes less than a half an hour to complete.

How to prep your nails before using a gel nail kit

Cuticle tricks

Smooth, hydrated cuticles are essential for a beautiful manicure – dry cuticles make your manicure look uneven and can impede the durability of your polish.

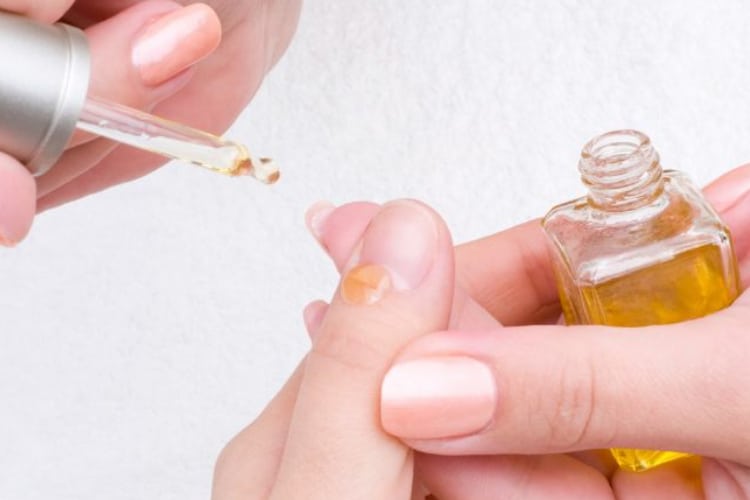
1) Break down dead skin cells by using a liquid cuticle remover (we like the Manicure cuticle remover). Apply this product around your cuticles and leave it on for a minute – it softens dry skin cells with rapid speed, making removal so much easier. Remember to use a lint-free cloth to wipe away any remaining product – this is vital as any residue or oily film will make the manicure peel faster.

IMAGE: BEAUTIFULLY ALIVE

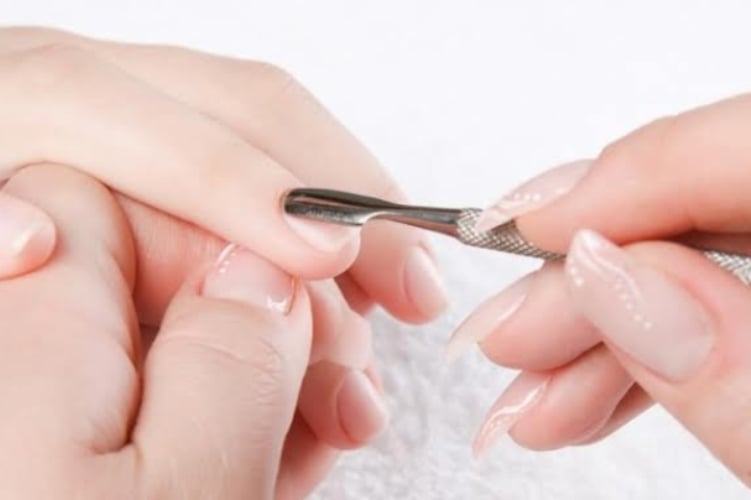
2) Scrape away remaining dead skin cells using a cuticle pusher. There are different types of cuticle pushers to choose from, but the most popular ones are stainless steel or wooden sticks. Gently ‘push’ your cuticles back after the dead skin removal process.

IMAGE: CINDERELLA NAILS AND SPA

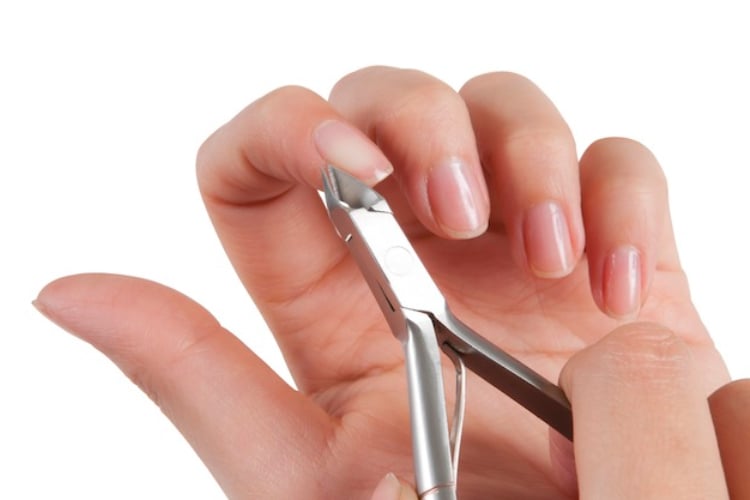
3) Any longer, ‘hanging’ pieces of dead skin cells can be removed using a cuticle nipper.

IMAGE: STYLE CASTER

Buff away

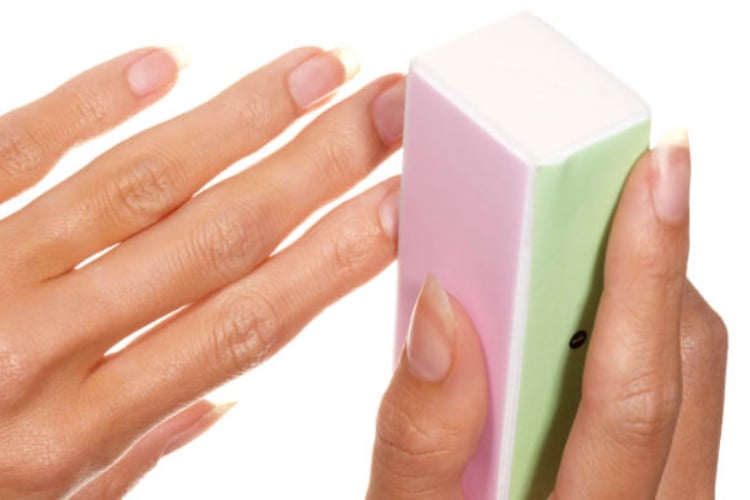
Buff your nails (using the rough side of a buffer) to remove their natural shine – this maximises the effectiveness of the base coat and enhances the longevity of your gel polish.

IMAGE: FREENESS

Pro tip

If you want to file the tip of your nails, switch to a glass file – they cause less damage.

How to apply gel polish like a pro

Your base coat matters

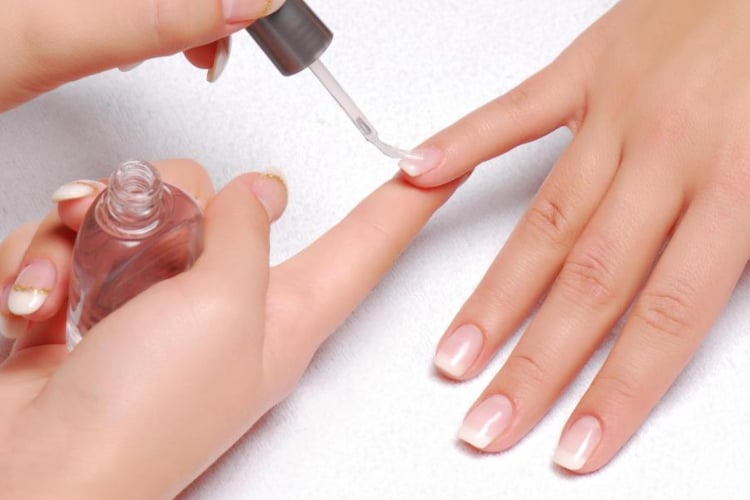
Base coats for at home gel nails are essential. They create an adhesive bond, smooth out uneven ridges, and make a significant difference in the texture of your polish. For best results when using an at home gel nail kit, use a base coat specifically designed for gel nail polishes.

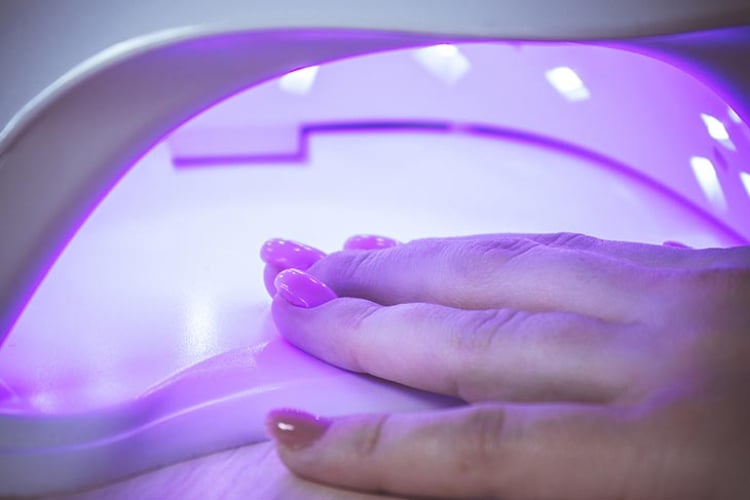
After applying the base coat, immediately place your hands underneath the gel lamp to ‘cure’ (i.e. harden) the polish. Now you’re ready to apply your first layer of colour polish.

IMAGE: ZHURNAL-LADY

Insider application tips

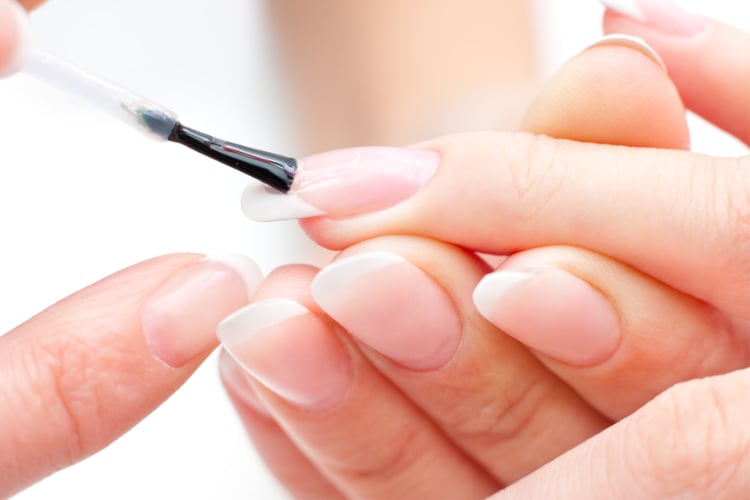
Apply the base coat and nail polish just above the edge of your cuticles. The brush should not touch your skin at all. This is especially important with the base coat because if it is rooted in your cuticles and begins to pull up, each layer on top will come with it.

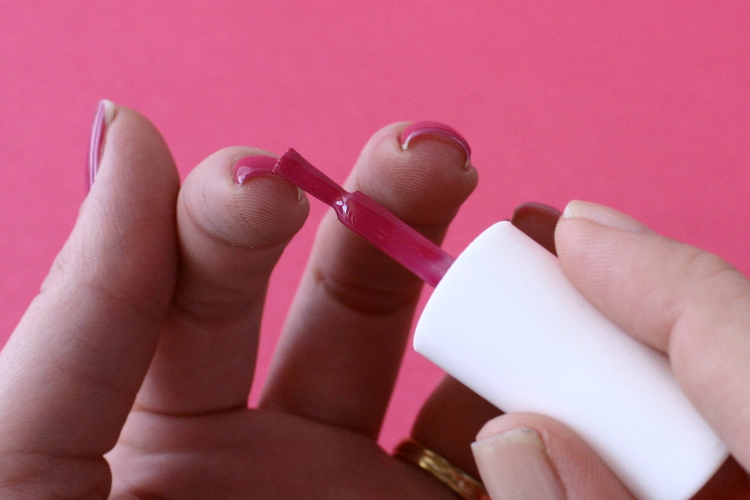
Always work in thin coats with gel nail polish, as they are thicker than traditional polish. It is recommended to keep building the colour until you’re satisfied with the opacity – four coats is usually the recommended limit.

Remember: immediately after every coat of polish, you must place your hand under the light. The length of time your nails should be under the light is dependent on the machine and polish, so read the fine print carefully.

IMAGE: NAIL REPAIR YAIKAN

‘Cap’ your nails – this means applying base coat at the tip of your nails. It ‘locks’ down the polish and prevents your manicure from peeling. This step applies for every coat: from the base coat to the colours and even the top coat.

IMAGE: LOGIK GEL POLISH

Lastly, seal your nail polish with a top coat to prevent chipping and add a stunning shine (and don’t forget to place your nails under the light one last time).

IMAGE: DREAMSTIME

How to hide gel nail growth

Worried about the ‘growth’ period of your gel nails – where there’s significant space between your cuticles and the start of the polish? Try this easy trick: apply nail glue on the bare area, then sprinkle on some glitter (or your favourite nail gems) and voilà – a chic way to cover things up.

IMAGE: THE LUXURY SPOT

How to get them off

Removing gels is a little trickier than your usual polish, but can still be done at home – with a little patience. Take a nail file and buff off the top of your nail polish. Soak cotton pads in acetone or nail polish remover, place over the polish and then wrap your nails in aluminium foil. Wait for 15 minutes or so, and the polish should come off quite easily.

Before you purchase an at home gel nail lamp, know this…

UV and LED lamps activate a specific molecule in the gel nail polish, causing it to harden (or cure). But don’t let the name fool you: both LED and UV lamps emit UV light.

LED lamps use more targeted, narrower wavelengths and cure nail polish faster – with an average speed of 30 seconds. LED lamps generally cost more, but don’t require light bulb maintenance. But be careful: not all gel polishes are compatible with LED lamps, so make sure you read the fine print and use a nail polish designed specifically for LED lamps.

UV lamps emit light on a broader wavelength and in general, takes two minutes to cure gel polish. UV lamps require light bulb changes every few months, but they are able to cure every gel nail polish on the market.

Our gel lamp recommendations

Best for travel

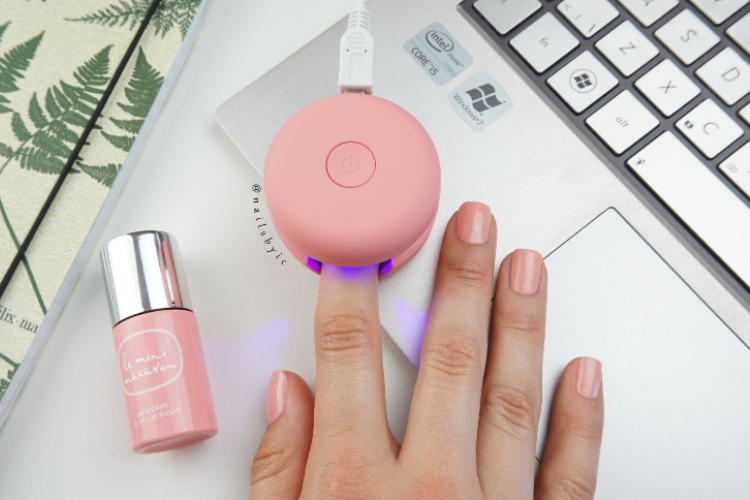
Lightweight and portable, the Le Mini Macaron LED light is perfect to take on the go. It’s powered by a USB cord, so you can even do a swift mani tweak on the plane – simply plug it into your laptop. The set comes with everything you need for a flawless gel manicure: gel polish, cuticle stick, nail file, remover wraps and, of course, the LED lamp. Did we mention how cute the macaron design was? Reviewers also love how smooth and even the polish comes out.

Salon quality

Mylee LED lamps are highly coveted amongst professional technicians for its ability to effortlessly produce a sleek, smudge-free finish. The super speedy lamp takes only 15-30 seconds to cure gel nail polishes. There’s also a motion-activated sensor – meaning the lights immediately turn on when you place your hands inside the lamp. Bonus: it’s compatible with all gel nail polishes and fans rave that it makes their DIY manicure last for over three weeks.

Multi functional

DeepDream UV LED lamps are a serious time saver – unlike most gel lamps, you can cure two hands or feet at once. It also has an in-built timer, so you can control how long you want the lights to stay on. The lamp is lauded for its longevity – it can last for up to 50,000 hours. It can set all gel nails, including gem glue and acrylic hard gels. For those with sensitive skin, you can also adjust it to low power mode.

HOW CARE TO CARE FOR YOUR NAILS BETWEEN MANICURES

Gel manicures, while wonderful in many respects (and very addictive), can be damaging to our poor nails if we don’t space them out enough. To keep nails in best nick, make sure you leave some time between your gel manicures – ideally opting for no polish at all until your nails are in better shape. Regularly rehydrate your nails with a nourishing hand cream and cuticle balm throughout the day – it’s a good idea to have them with you in your bag or your desk drawer so you can frequently reapply. Opting for a restorative nail treatment, like cult favourite Revitanail, might also be needed if your nails have really suffered from one-too-many gel manis.

Story by Shannon Carley, Kristina Zhou and Tess de Vivie de Régie. Holding shot image credit: Instagram @drybylondon

Comment (0)